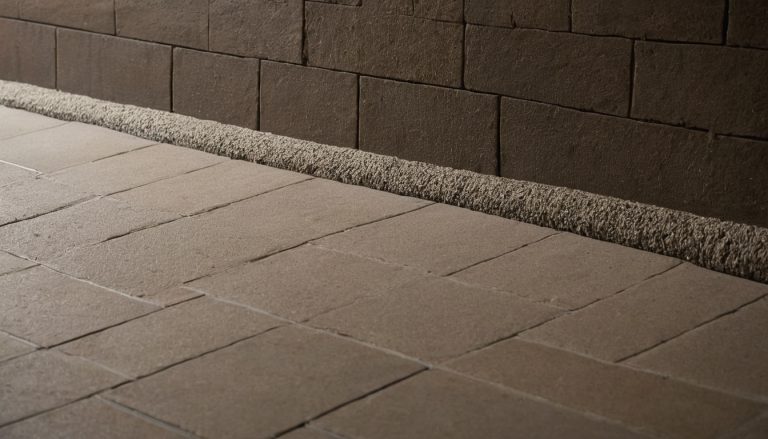
How much extra bathroom tile should you order for cuts, breakage, and matching?
The measured coverage fits on the order sheet, but a revised niche turns the last carton into cut pieces. Nothing remains for a broken tile or future repair. Separate installed coverage, cut loss, handling replacements, attic stock, and full-carton rounding before releasing the order.
Key takeaways
- No universal waste percentage fits every bathroom, tile format, or pattern.
- Measure each floor, wall, niche, curb, bench, and return as a separate plane.
- Count pieces as well as square footage when cuts, orientation, or large formats restrict reuse.
- Round to cartons only after the layout and replacement reserve are approved.
- Record shade, caliber, lot, and carton labels because a later production run may not match.
Contents
- Building the order from separate quantities
- Taking field measurements
- Testing tile modules and cut loss
- Allowing for patterns and architectural details
- Checking cartons, lots, and supplier policies
- Reviewing worked takeoffs
- Releasing and receiving the order
How much extra bathroom tile should a bathroom remodel order?
For a bathroom remodel, order measured installed coverage plus separately calculated quantities for cuts, handling replacements, and attic stock. Then round up to full cartons. No single percentage accounts for every tile module, layout, room geometry, supplier rule, or replacement-lot risk.
Bathroom tile overage is a set of separate quantities, not one universal percentage
Choose the material and format first. Buyers should compare bathroom flooring materials before calculating the tile order, since a format change can alter the cut schedule even when the tiled area remains unchanged.
Order quantity = installed coverage + documented cut quantity + handling replacements + agreed attic stock + full-carton rounding.
- Installed coverage: Measure floors, shower walls, tub surrounds, niches, benches, curbs, and feature walls face by face.
- Cut quantity: Count perimeter cuts, plumbing penetrations, pattern starts, directional pieces, and unusable strips. Credit a reusable offcut only once.
- Handling replacements: Set a project-specific quantity for delivery and installation damage. If no project history exists, mark the quantity as an assumption requiring installer approval.
- Attic stock: Agree on a repair reserve with the homeowner and installer. Record the matching risk that the reserve addresses.
- Sales unit: Confirm whether the product is supplied by piece, sheet, carton, square foot, or square meter and whether full-carton purchases are mandatory.
After the homeowner, designer, installer, contractor, and supplier have provided their respective inputs, one named party should approve the release quantity.
When is a preliminary bathroom tile estimate not safe for ordering?
A preliminary estimate is not ready for purchase when its dimensions predate demolition, wall flattening, waterproofing, curb construction, or niche framing. Remeasure after any change to a tiled boundary, drain, bench, partition, niche, or tile format.
Correct wet or damp conditions before finishes conceal them. The U.S. Environmental Protection Agency moisture guide advises fixing wet or damp spots promptly to help prevent mold growth.
The limitation is straightforward: no quantity calculation is safe until field dimensions and the intended layout are approved.
What measurements does a bathroom tile takeoff need?
Measure every tiled plane separately. Subtract an opening only when the tile saved exceeds the cuts created around it. Floors, walls, curbs, niches, benches, and returns have different boundaries and cutting demands.
Measure bathroom floors and walls as separate tile orders
Use plans and elevations that show finished tiled boundaries rather than rough framing. Before measuring, confirm the bathroom remodel scope before ordering tile.
- Floor: Record the perimeter, alcoves, thresholds, drain position, fixture footprints, and every change in product or direction.
- Walls: Measure each wall’s width and finished tile height. Mark inside corners, outside returns, and transitions to paint, trim, slab, or another tile.
- Interruptions: Dimension doors, windows, pipes, drains, vanities, toilets, tubs, and mirrors. Confirm whether tile continues behind removable fixtures.
- Layout inputs: Record the grout joint, tile orientation, starting lines, border cuts, and edge treatment for every tile SKU.
Verify the small bathroom layout and finished clearances before releasing material. A shifted vanity or partition can change both floor and wall quantities.
Niches, benches, curbs, and returns need face-by-face measurements
Measure the width, height, and depth of every niche back, jamb, sill, shelf, bench top, bench face, curb top, curb face, and wall return. Mark required slopes and every exposed edge that needs trim, bullnose, a miter, or a slab transition.
Keep the material schedule separate from the quantity calculation, but include it with the takeoff. For natural stone, the Natural Stone Institute care guidance recommends neutral cleaner, stone soap, or mild liquid dishwashing detergent with warm water rather than acidic products, subject to the stone and supplier instructions.
Keep installation-product planning in the project file, too. The U.S. Environmental Protection Agency identifies building materials and cleaning products among indoor sources of volatile organic compounds and recommends increased ventilation while products that emit them are in use. Lighting decisions do not change tile quantity, but they affect inspection conditions. ENERGY STAR states that qualified LED lighting uses at least 75 percent less energy and lasts up to 25 times longer than incandescent lighting.
Tile size, room geometry, and edge conditions determine bathroom tile cut loss
Cut loss rises when the tile module fits the room poorly, the layout requires balanced borders, or remnants cannot serve another edge. Large-format tile may leave substantial offcuts in a compact bathroom.
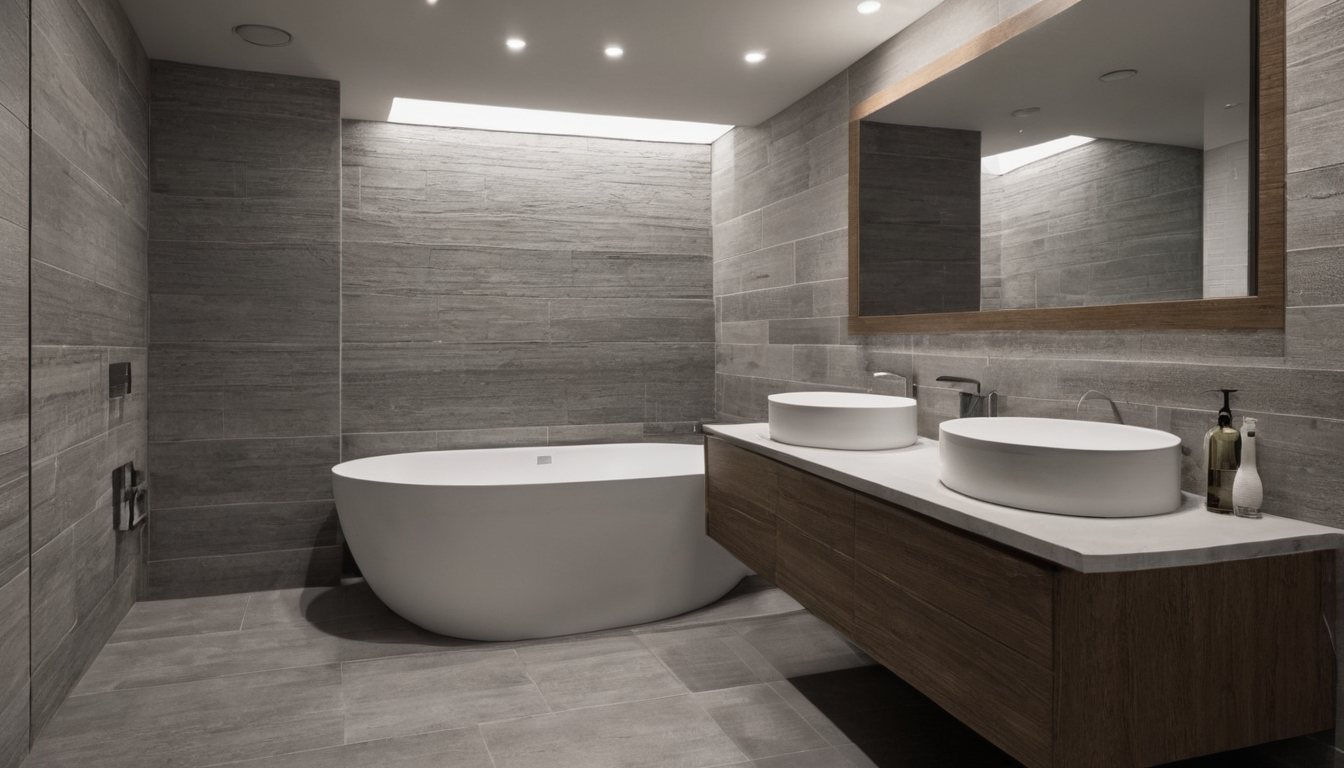
Tile size, room geometry, and edge conditions determine bathroom tile cut loss shown with floor, wall, and fixture relationships visible.
A tile-module check reveals unusable strips before the bathroom order is placed
- Use actual or manufacturer-declared dimensions, not only the nominal format.
- Compare each finished dimension with the tile size plus the selected grout joint.
- Calculate centered, edge-start, and focal-feature layouts.
- Approve the origin, centerlines, drain alignment, border dimensions, and minimum acceptable cut size.
Large-format bathroom tile needs a piece count as well as a square-foot takeoff
Count full pieces in every row and column. Mark holes, L-cuts, miters, drain openings, and factory-edge requirements. Directional, veined, printed, or book-matched surfaces restrict where remnants can be reused, so the installer or fabricator should approve every credited offcut.
Diagonal, herringbone, niches, and benches need layout-specific tile allowances
Order patterned bathroom tile from an approved layout rather than a generic percentage. Diagonal fields, herringbone, borders, niches, and benches generate different cuts, while directional faces can prevent offcut reuse.
Diagonal and herringbone bathroom layouts must be counted at the perimeter
- Mark every wall, doorway, threshold, curb, drain, and change of plane.
- Record tile dimensions, grout joints, direction, border width, offset, and starting point.
- Check whether mirrored cuts can serve opposite edges without reversing the tile face.
- Count niche, bench, curb, return, and plumbing cuts by face rather than combined area.
Decorative bathroom tile requires repeat, orientation, and focal-point checks
Printed, veined, relief, modular, and shade-varied products need checks at vanities, shower valves, niches, drains, and wall centers. Confirm pattern repeats, permitted rotations, running-bond restrictions, mosaic-sheet orientation, blending instructions, trims, and special pieces before approving the quantity.
Carton coverage, shade, caliber, and supplier policies can change the final bathroom tile order
Convert the calculated quantity into purchasable units using the current carton label or supplier specification. Full-carton rules, pieces per carton, lot identifiers, return conditions, inventory location, and replacement lead time may justify another carton.
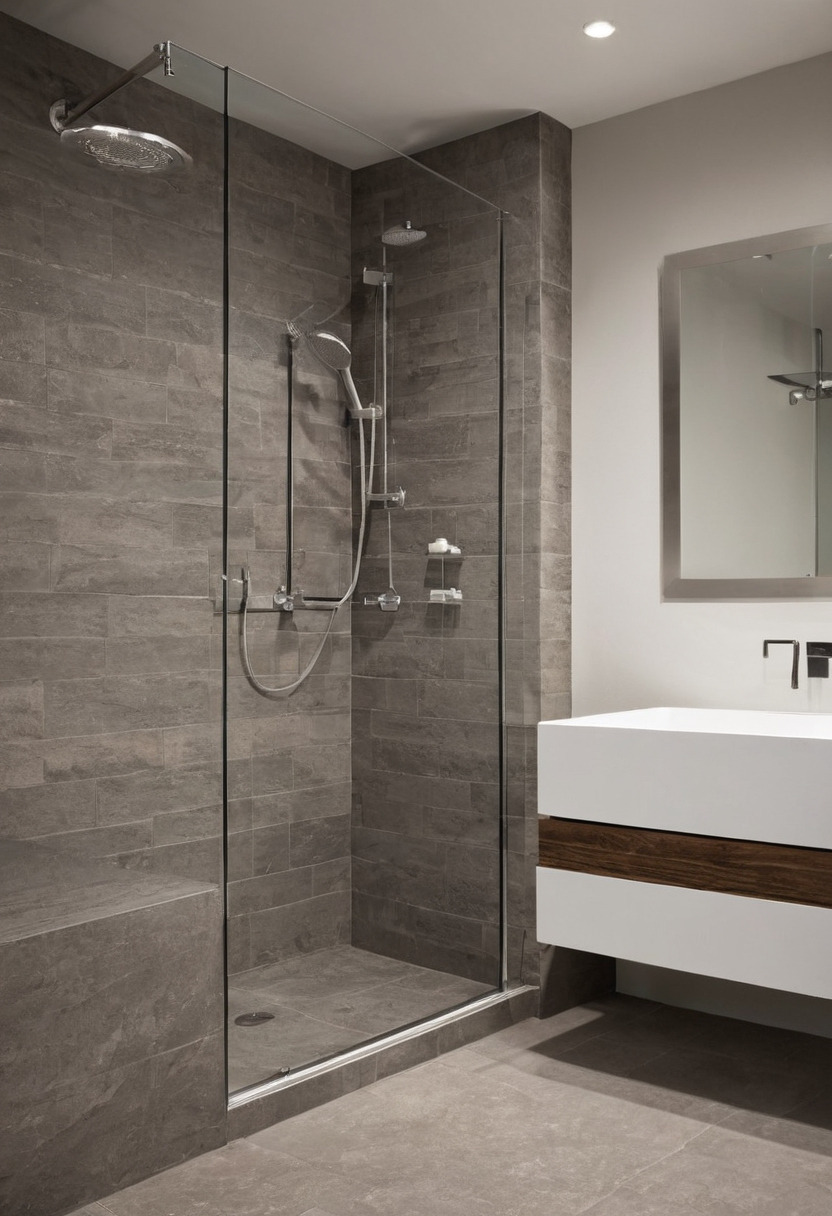
Carton coverage, shade, caliber, and supplier policies can change the final bathroom tile order shown as a planning reference for layout, scale, and material decisions.
Round the bathroom tile order by carton only after completing the takeoff
Record the exact SKU, finish, nominal and actual size, pieces per carton, and carton coverage. Divide the completed piece count by the verified carton quantity, then round up. Calculate field tile, mosaics, trim, bullnose, and decorative pieces separately.
Later tile from the same product line may not be a visual match
Photograph carton labels and record every available shade, tone, caliber, production-run, or lot field. Obtain written terms for full-carton sales, unopened returns, restocking fees, special orders, damaged-carton claims, inventory reservations, and replacement lead times.
Keep separate records of natural stone grading, finish, thickness, range, and lot. The Natural Stone Institute states that sealing can make stone more stain resistant but does not make it stain proof. Sealer selection depends on the stone, finish, exposure, and manufacturer instructions.
Worked bathroom tile takeoffs show how to order without a blanket waste percentage
These hypothetical examples separate source pieces, handling replacements, attic stock, and carton rounding. Field dimensions and an installer-approved layout must control the actual purchase order.
Example: a straight-laid bathroom floor with balanced border cuts
A 90-by-66-inch floor uses nominal 12-by-24-inch tile with 1/8-inch joints. A balanced four-column by six-row layout requires 24 source pieces after approved reuse of opposite-edge cuts. Add two handling replacements and two attic-stock pieces: 24 + 2 + 2 = 28 pieces. At eight pieces per carton, order four cartons, or 32 pieces.
Example: shower walls with a niche, curb, and plumbing cuts
Two 36-by-84-inch walls, one 60-by-84-inch wall, a 12-by-24-inch niche, a 6-by-60-inch curb, and two 4-by-84-inch returns produce a 49-piece cut schedule. Add three handling replacements and four reserved pieces: 56 pieces, or seven cartons at eight pieces per carton.
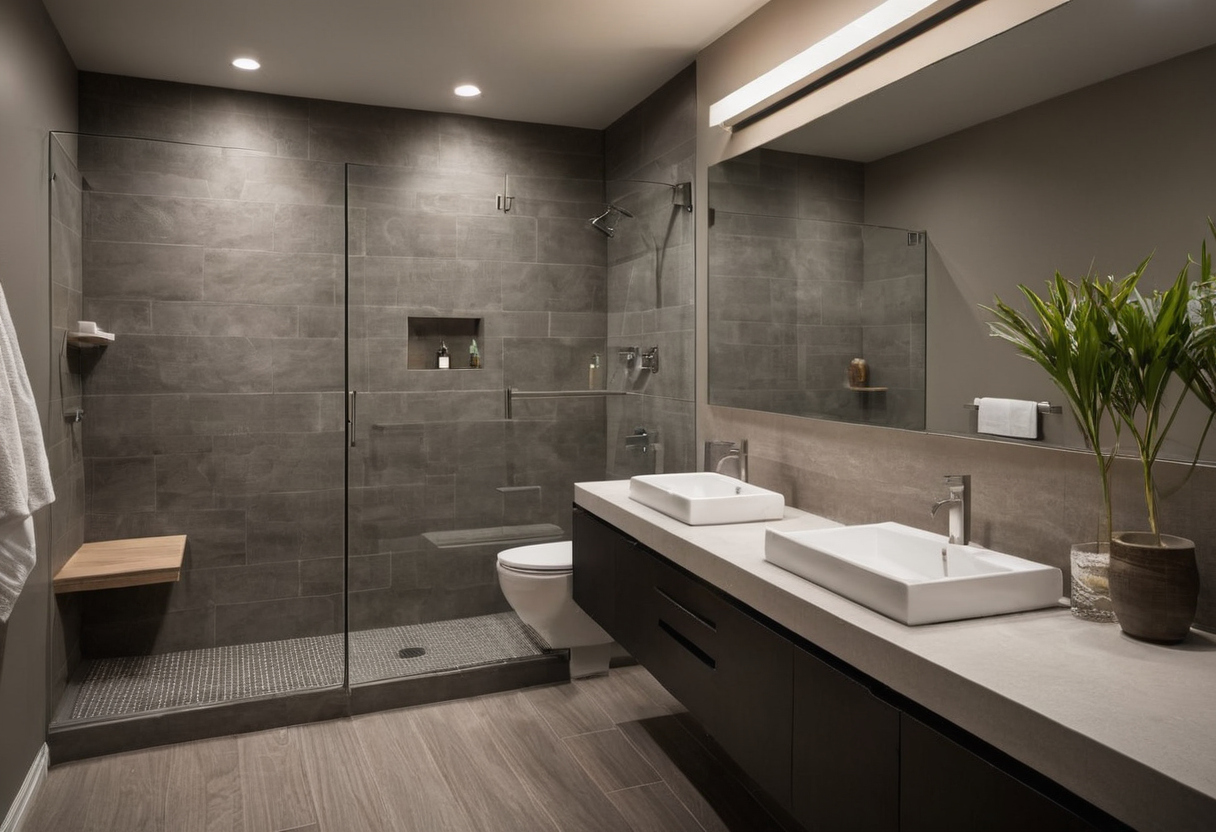
Worked bathroom tile takeoffs show how to order without a blanket waste percentage shown as a planning reference for layout, scale, and material decisions.
Example: a herringbone bathroom feature wall
A 72-by-96-inch wall using 3-by-12-inch tile requires 214 source pieces under the approved perimeter map. Add six handling pieces and eight attic-stock pieces: 228 pieces. At 60 pieces per carton, order four cartons, or 240 pieces.
Use this bathroom tile ordering workflow before releasing the purchase order
Release the purchase order only after documenting field dimensions, tiled boundaries, layout, carton data, lot availability, delivery conditions, and attic stock.
Bathroom tile ordering checklist
- Assign responsibility. Name the parties responsible for measurement, layout approval, purchasing, receiving, and claims.
- Approve tiled boundaries. Confirm substrates, waterproofing, niches, curbs, benches, drains, and trim.
- Approve the layout. Record grout joints, direction, focal lines, edge treatments, and reusable cuts.
- Verify purchase data. Obtain a current quote listing the SKU, carton quantity, coverage, lot information, price, freight, lead time, and quote validity.
- Separate the quantities. Show installed coverage, cut loss, handling replacements, and attic stock before carton rounding.
- Confirm the terms. Record storage requirements, return rules, replacement availability, inspection deadlines, and claim procedures.
Bathroom tile receiving records protect the matching reserve
The receiver should count cartons, inspect visible damage, compare lot and caliber markings where provided, and photograph carton labels before installation. Label retained material with the room, surface, SKU, lot information, and installation date.

Use this bathroom tile ordering workflow before releasing the purchase order shown as an editorial reference for proportion and finish coordination.
A tile-order consultation should finish with an approved takeoff, matching-lot record, receiving plan, and documented repair reserve, not a guessed waste percentage.
Bathroom tile ordering questions
Should bathroom floor tile and shower wall tile receive the same extra quantity?
No. Each surface needs a separate cut schedule, handling allowance, carton calculation, and repair reserve.
Can unopened bathroom tile cartons be returned after the remodel?
Return rights depend on the supplier’s written policy, product status, carton condition, lot, and return deadline. Confirm the terms before ordering.
How much bathroom tile should be kept as attic stock for future repairs?
Attic stock is a project decision based on repair exposure, pattern complexity, storage space, replacement lead time, and matching risk. Record the agreed quantity rather than treating it as a universal percentage.
Will a later carton of the same tile match the installed material?
Not necessarily. Shade, tone, caliber, face variation, stone range, and production runs can differ. Keep labeled matching material whenever a visible repair would be difficult to blend.
How should niches, benches, curbs, and herringbone patterns be included?
Measure each face, map every perimeter cut, count source pieces, and credit only installer-approved reusable remnants. Release the order after converting those quantities into the supplier’s current carton units.